


-

Knowledge Base

-
We're working hard to improve and modernize our Knowledge Base. This means you could encounter some things that don't work as intended. Thank you for your patience.
-
Nacra Knowledge Base
Looking for tips, tricks or instructions? You’ve come to the right place! Our Knowledge Base has everything you need to get the most out of your Nacra catamaran. From trim sheets and assembly manuals to setup, rigging and care tips, it’s all here.
We’re always updating this space, so if you have any questions, feel free to contact us.
-
Setup
From basic setup and sail plan to rudders and mast rotation - here you can find all the necessary know-how to set up your catamaran the right way.

-
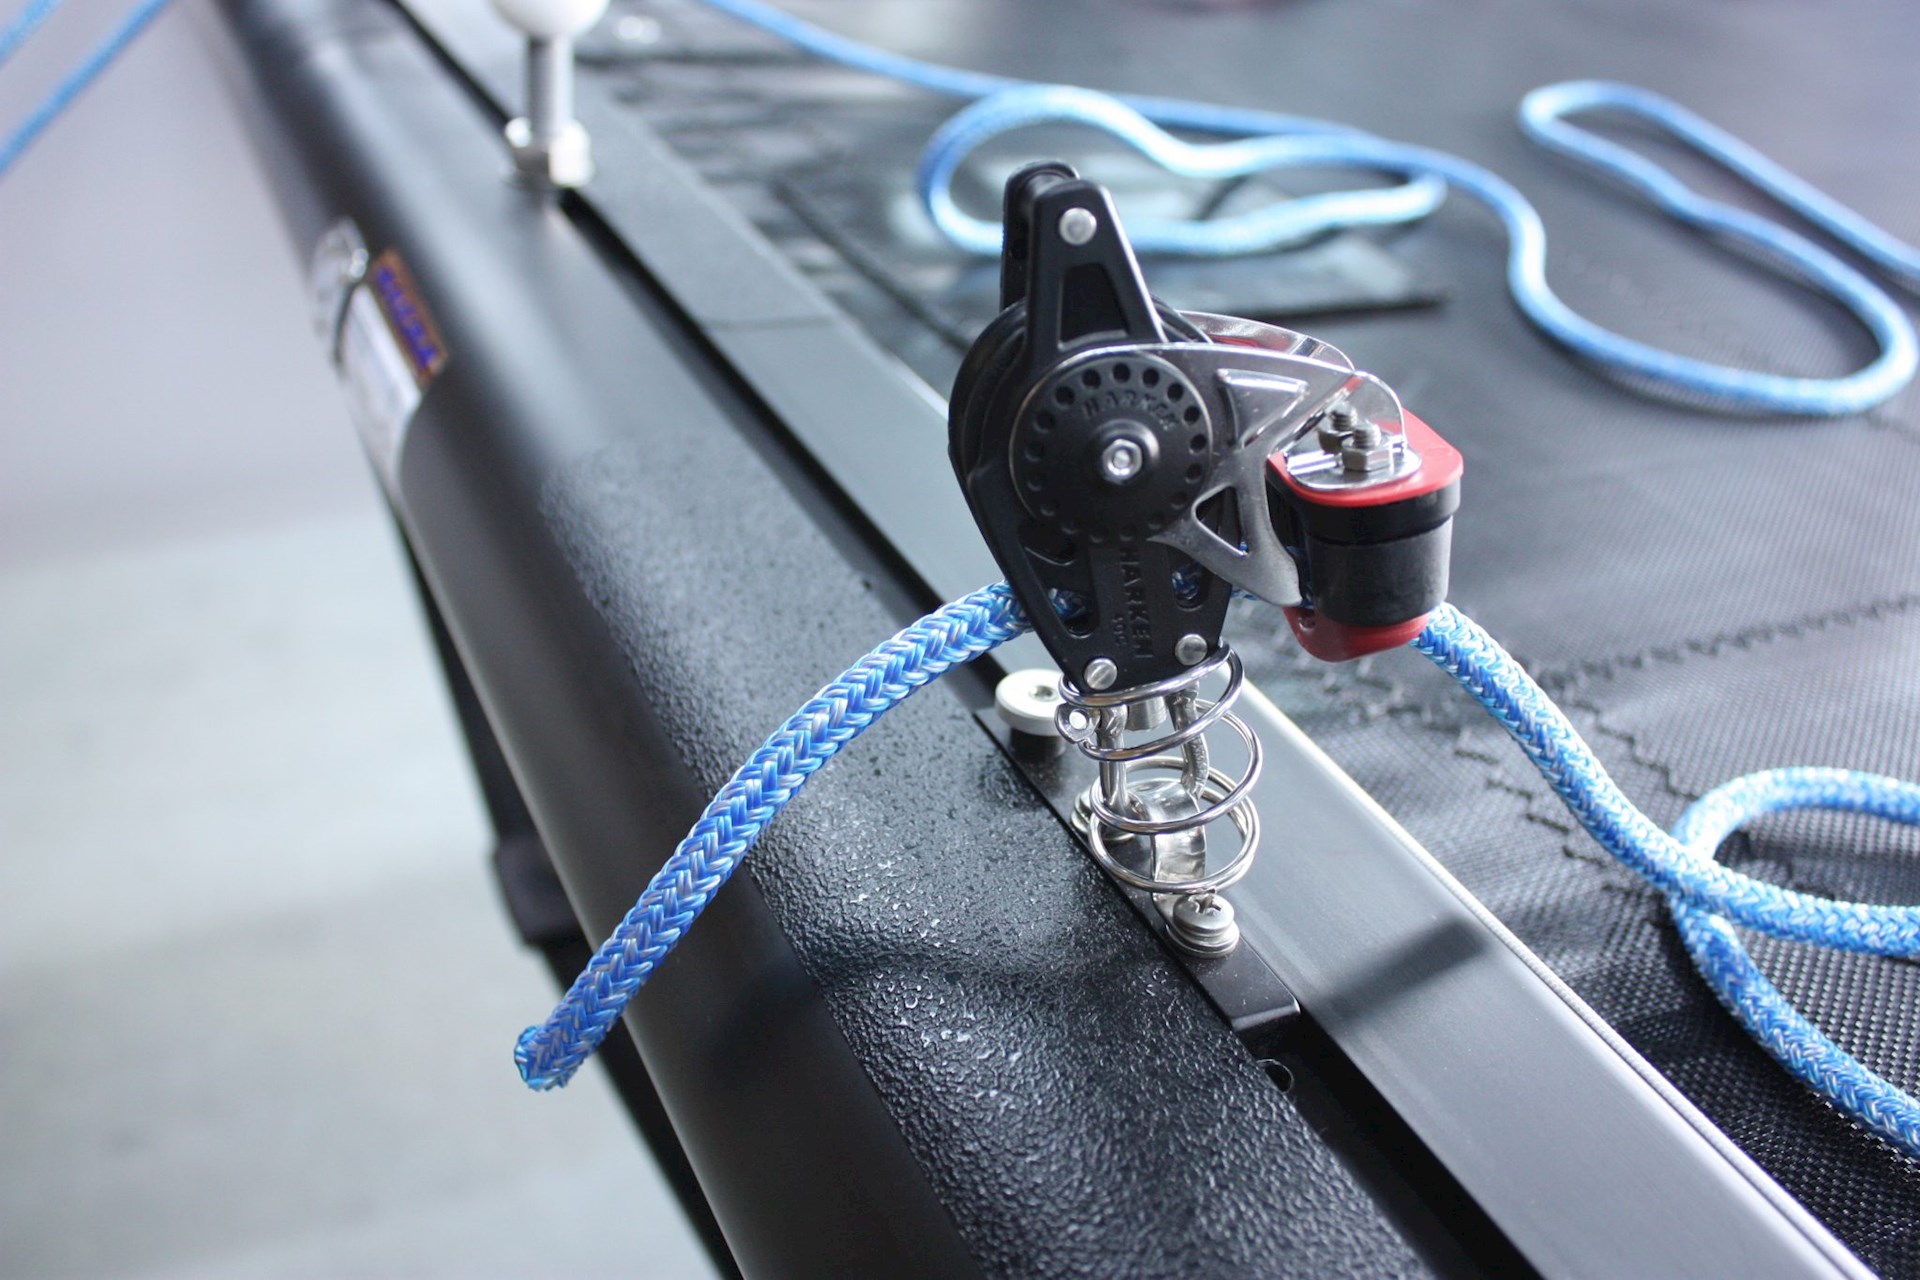
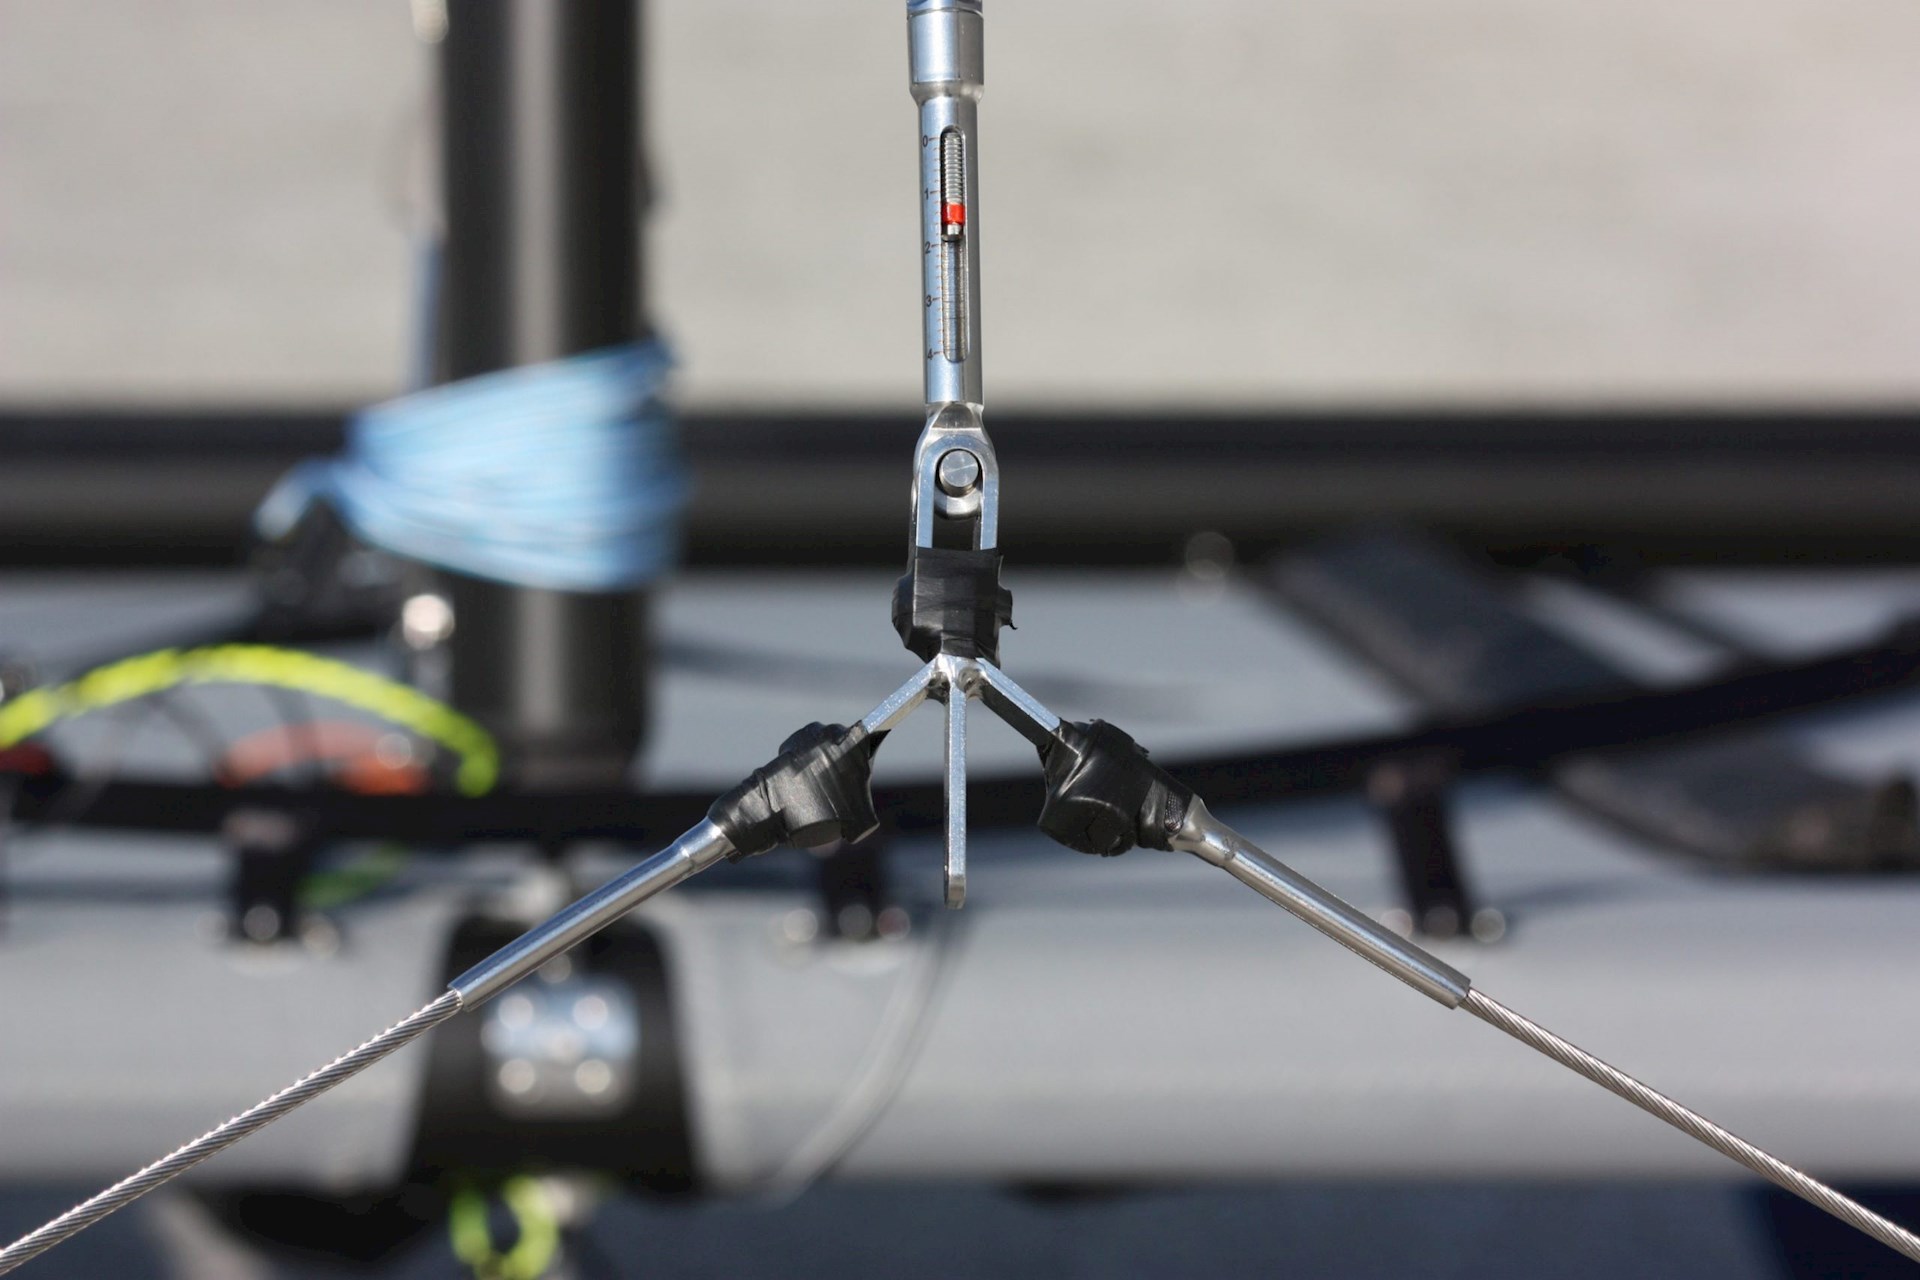
Rigging
From raising the mast to rigging many different types of sails - this teaches you everything you need about rigging.

-

After Sailing
From correctly lowering your sails to maintenance on your catamaran.

-

Manuals & Downloads
All assembly manual books, part diagrams, and trimsheets.
