Press Ctrl/Cmd + P to print
or save as PDF

Jib sheet self tacking continuous (cleats on hull)

Tools needed:
– Phillips screwdriver
– Grease

Steps:

1. Grease the pre-drilled holes next to the daggerboard case.

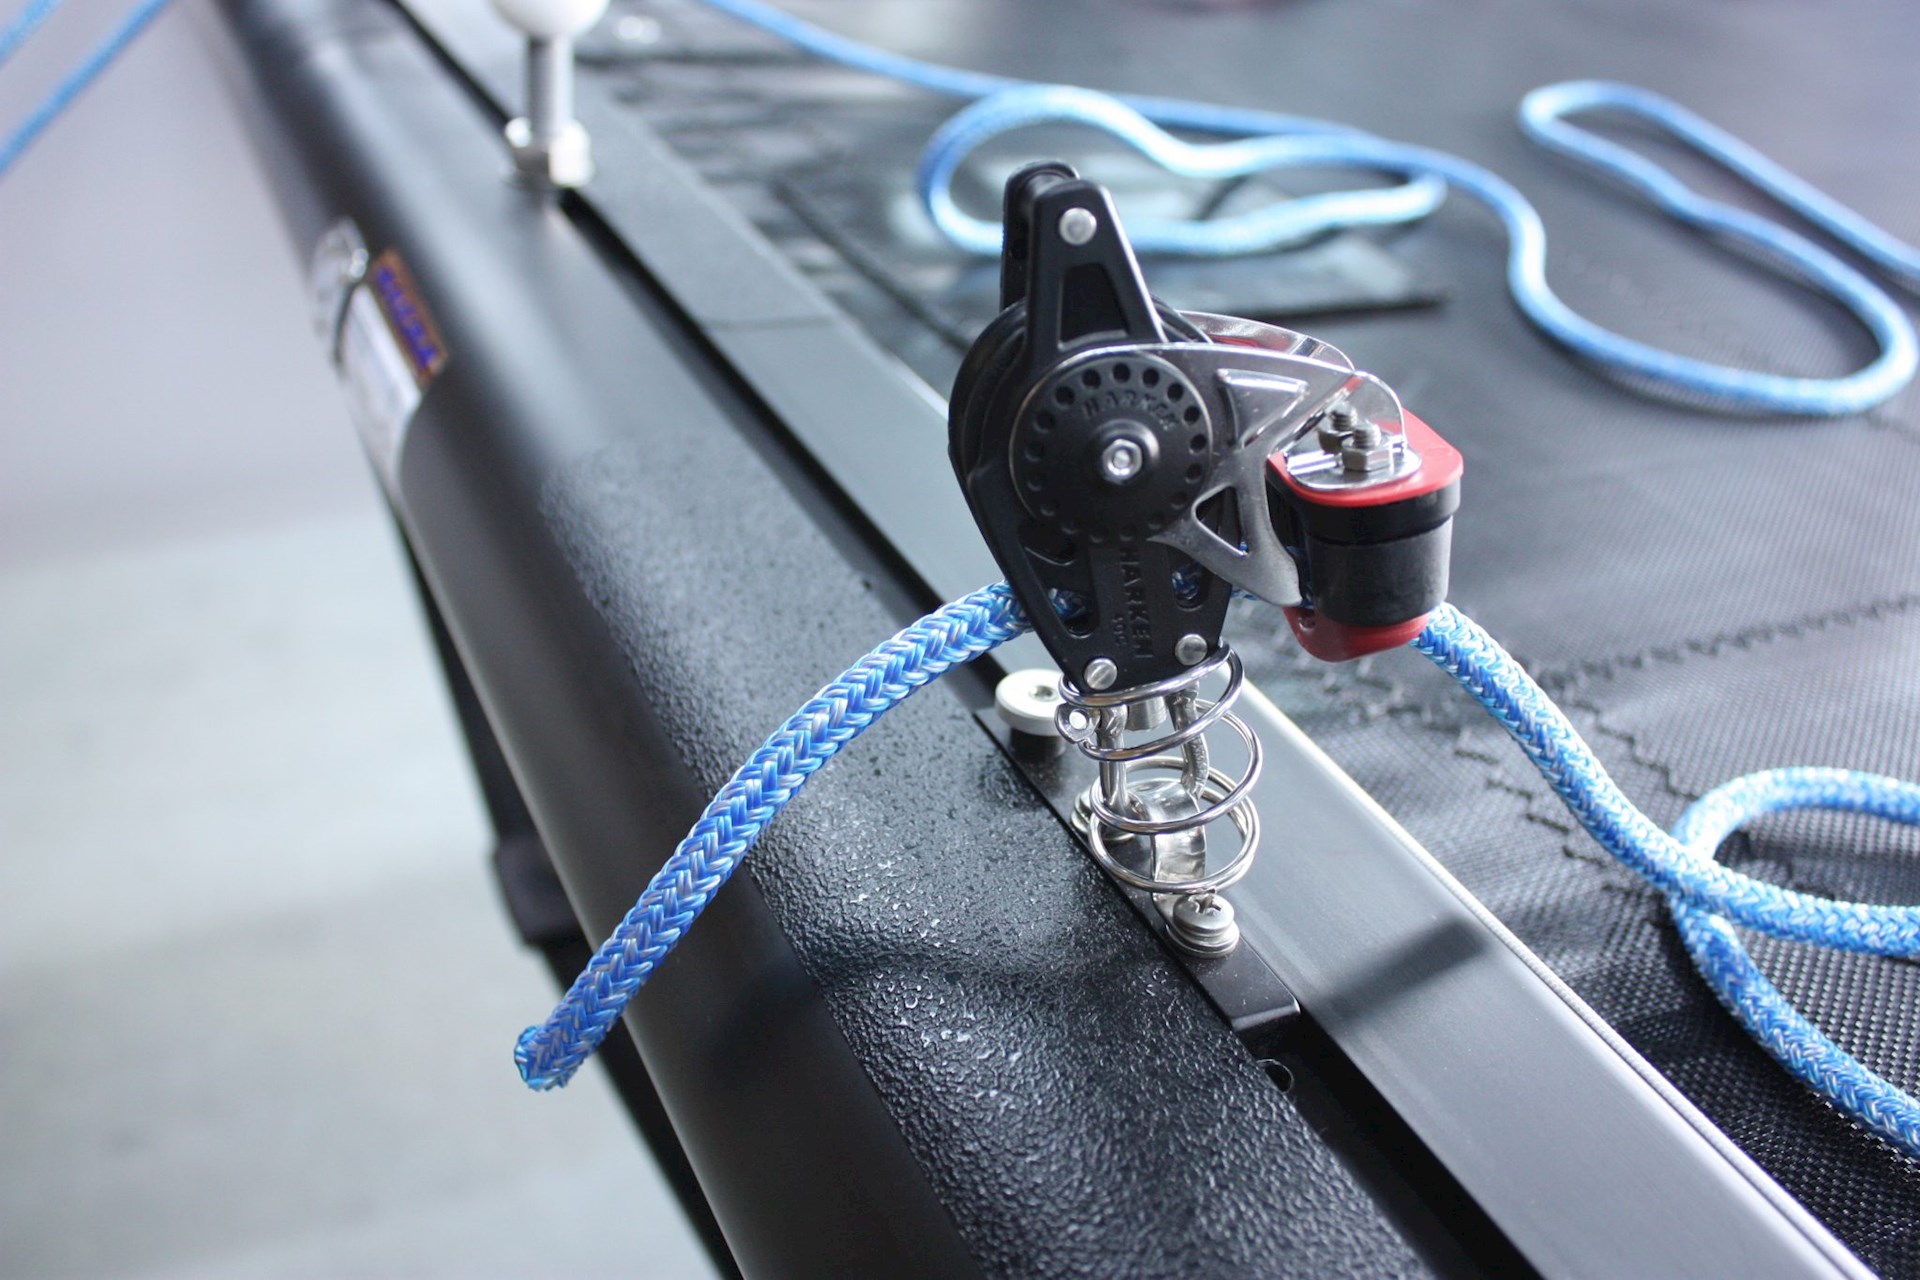
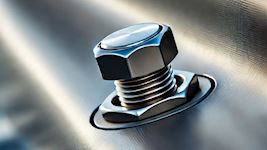
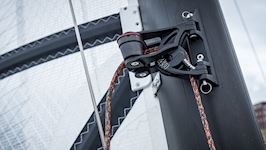
2. Screw the harken cam cleats on the hulls using the bolt 8-32 UNC. With the wire fairlead facing inwards. For the F18 Evo: use a cam wedge between the cam cleat and the hull.


Tools needed:
– Flat screwdriver

Steps:

1. Use the jib sheet small, one carbo 29mm block and a shackle D 5mm.
2. Knot one end to the middle of the 29mm block with a bowline and feed the jib sheet small from top to bottom through the first sheave of the double block located on the traveler of the self-tacking track.
3. Feed the line back from the bottom to top through the carbo 29mm block and back through the second sheave of the double block from top to bottom.
4. Feed the line from top to bottom through the block on the bowsprit located on the starboard side.
5. Knot the line to the T2 carbo 18mm block.
6. Feed the pre-installed traveler line of the jib through the cleat mounted on the bowsprit to range the track.
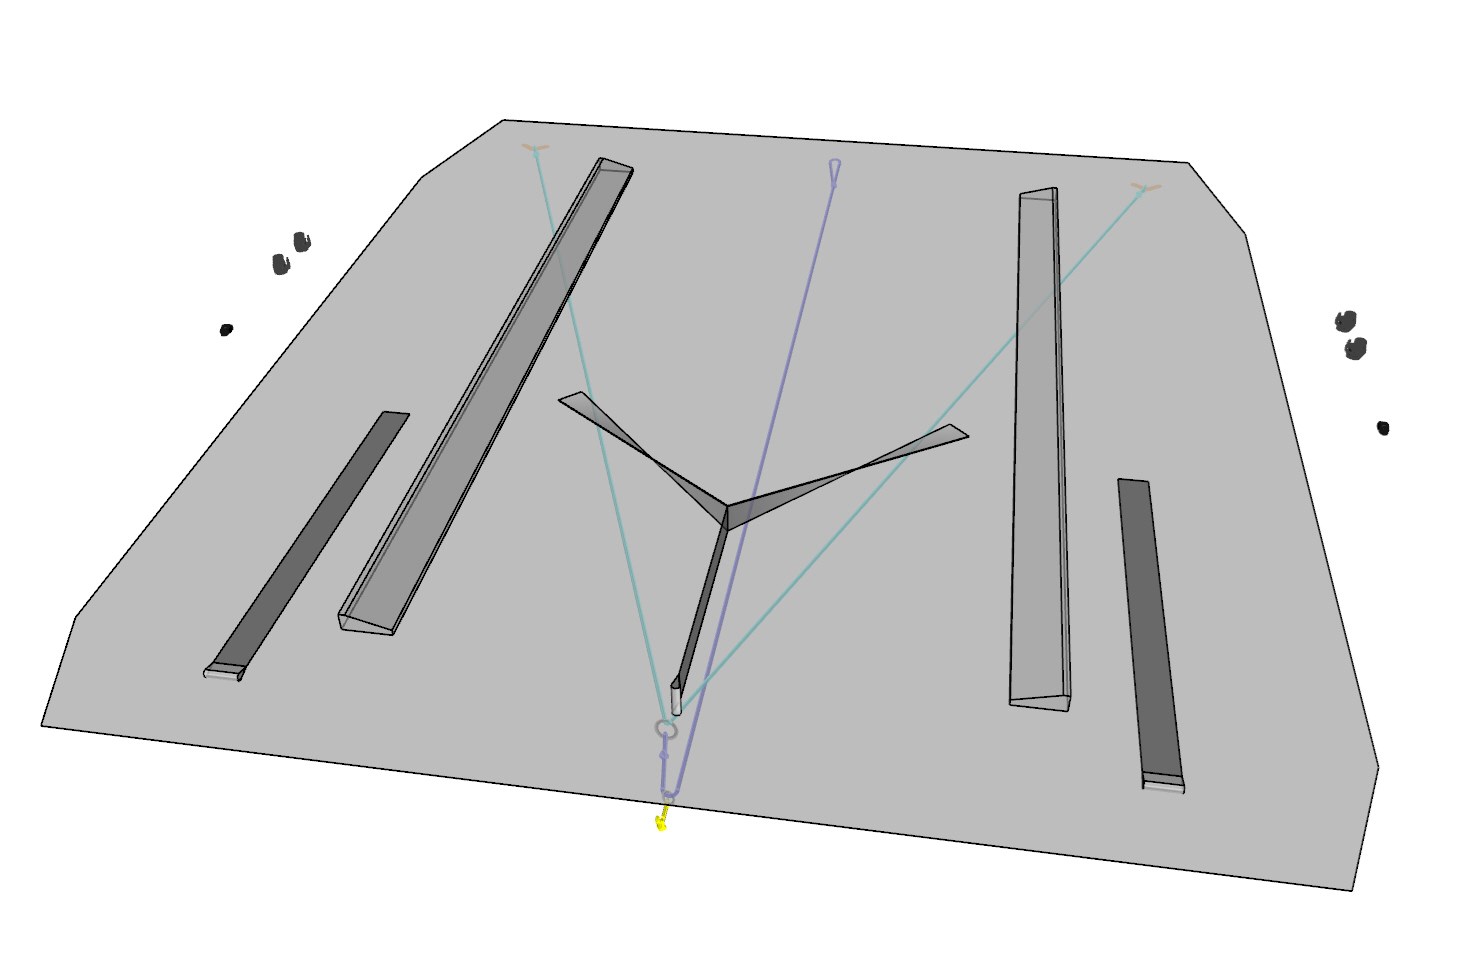
7. Fixate the jib sheet big line on the starboard side in the front cam cleat and feed it between the trampoline and the tramp lace underneath the trampoline, through the bullet sheaves installed underneath the front crossbar on the starboard side.
8. Feed the line through the T2 carbo 18mm block which is attached on the jib sheet small.
9. Feed the line on the port side between the trampoline and tramp lace.
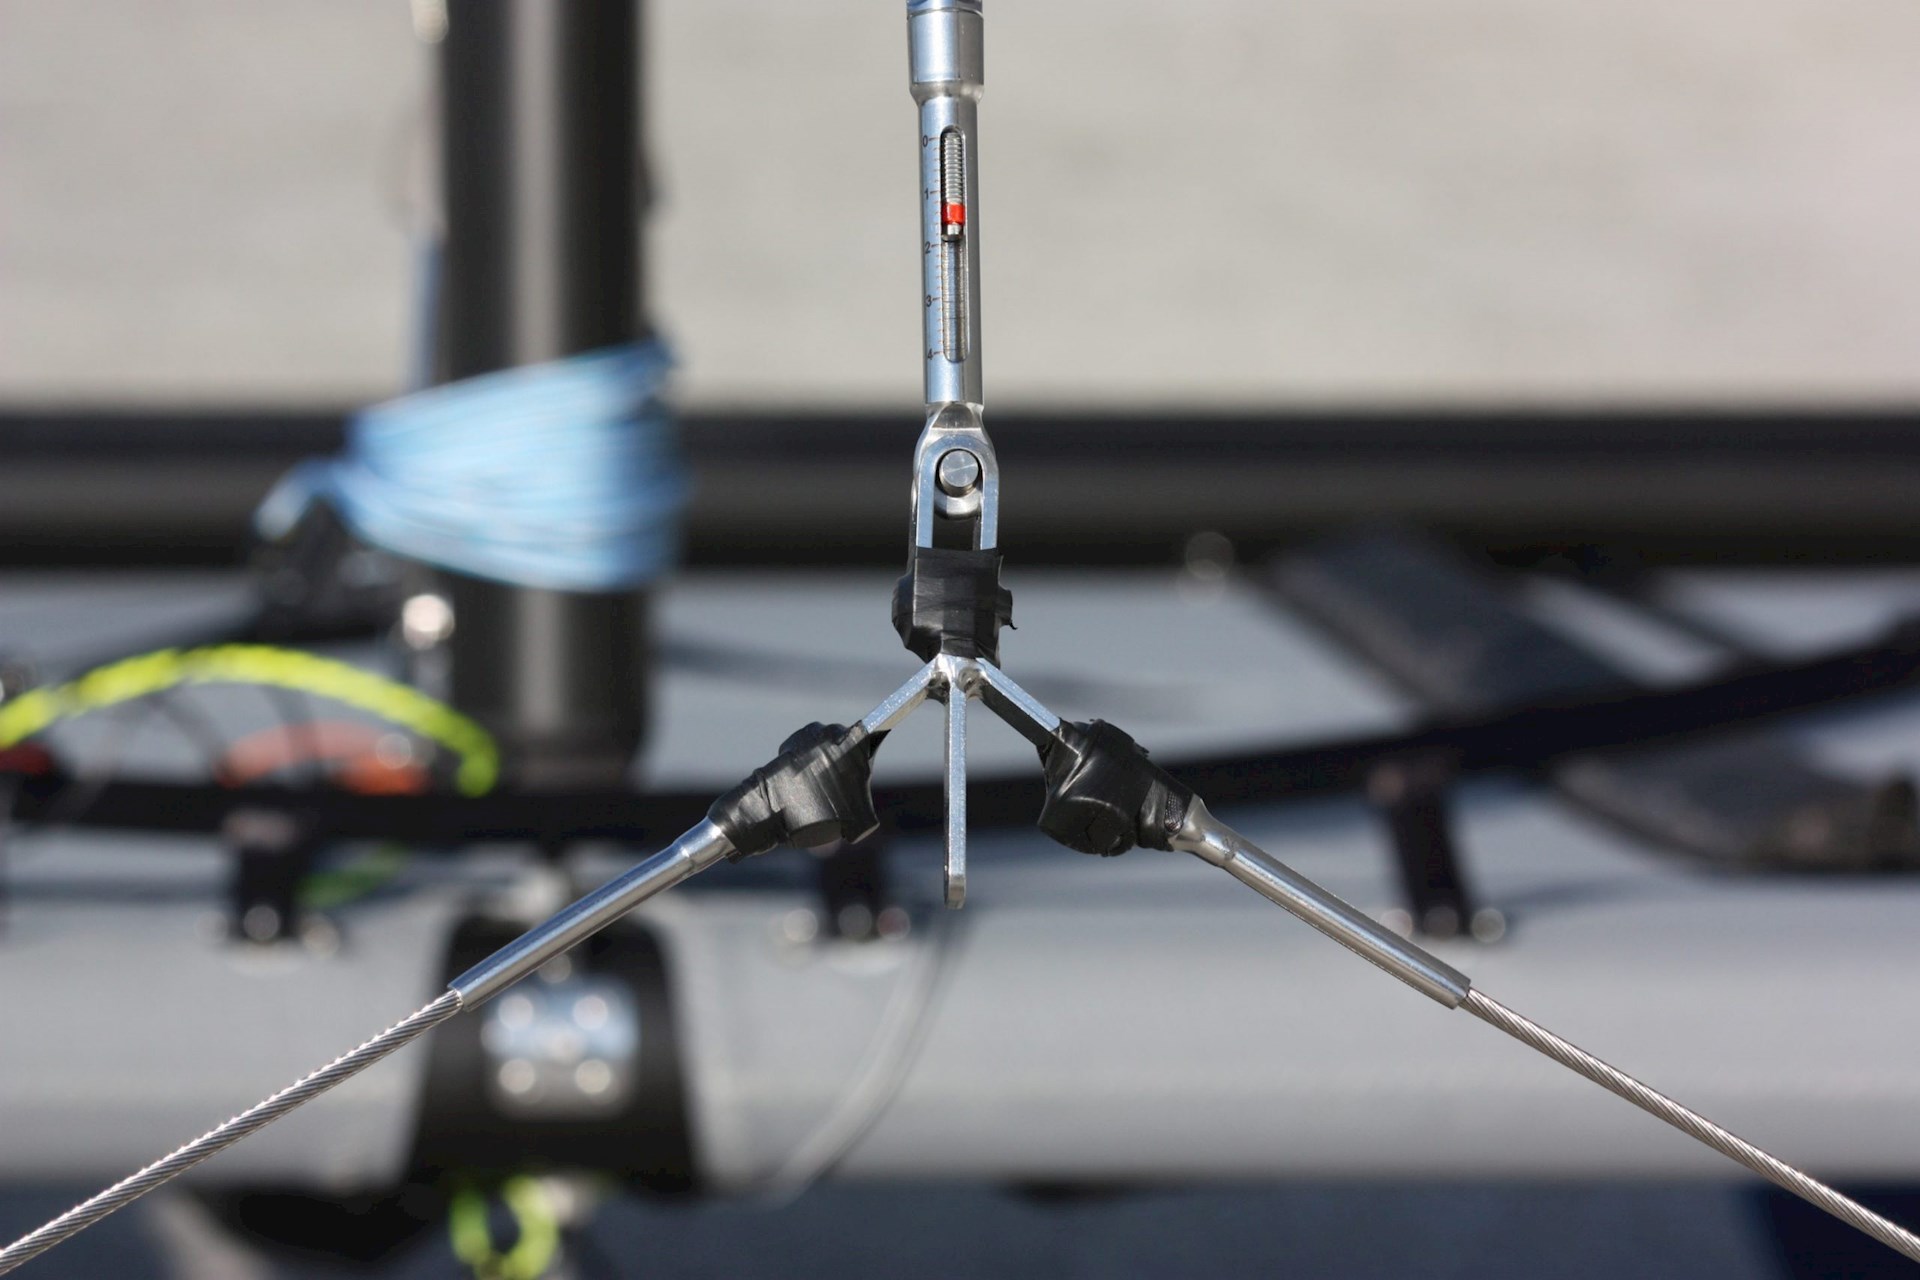
10. Feed it through the front cam cleat and the ring already attached to the turnbuckle.
11. On the port side, un-knot (from the small clam cleat) the rear pre-installed mouse-line in the front crossbar, and attach it on the jib sheet big.
12. On the starboard side, Pull the jib sheet big with the mouse-line through the internal system until it comes out of the front crossbar.
13. Feed the line through the ring already attached to the turnbuckle.
14. Attach both ends to each other as shown in photo A with two bowlines.
15. Adjust the connection to locate it inside the Front crossbar.