Search
Close this search box.
Search
Close this search box.

Raising the mast

Estimated reading time: 1 min
Tools needed:
– Wrench 11mm
– Self-amalgamating tape

Checklist:

  • Mast placed on the trampoline with the spreaders facing down.
  • All stays and trapeze wires are untangled and in the right order.
  • Shrouds are attached to the mast and boat.
  • Shrouds are on the maximum length.
  • Trapeze wires are attached to the mast and boat.
  • No overhead wires.
  • All lines are on the trampoline and can’t hook on anything.
  • The boat is on level ground or bows are pointing down the slope.
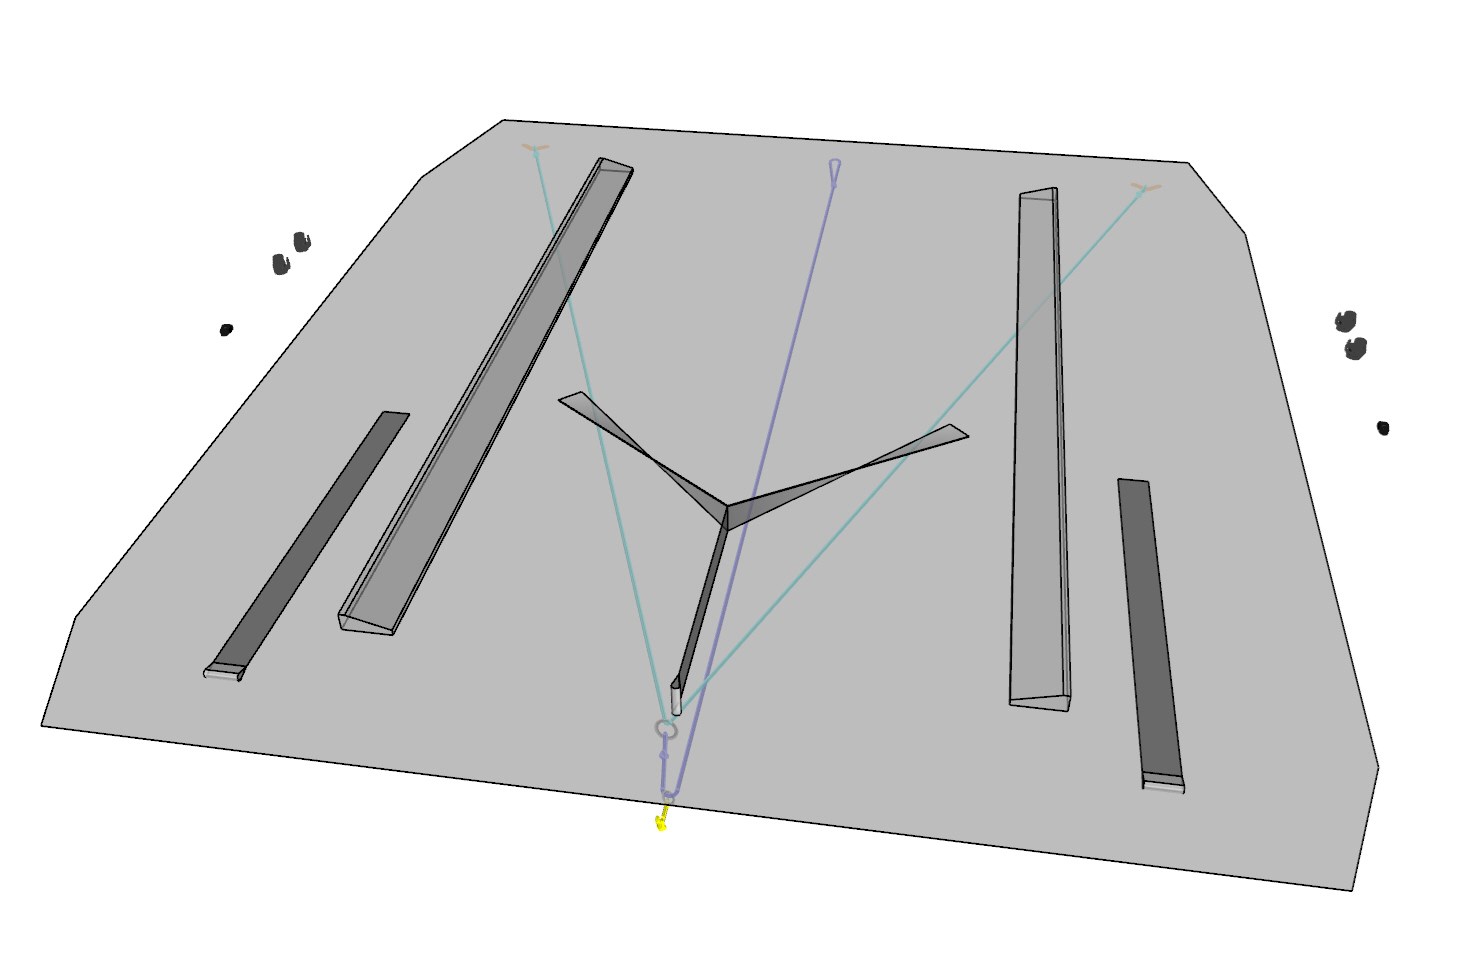
  • The bridle is connected to the boat.
  • Bridle forestay connection is prepared.
  • Raising the mast is done with no less than 2 persons.
Before raising the mast the boat should be steady on level ground. If the surface is not level, point both bows downhill. If the boat is on a trailer be sure it is tied down and the trailer tongue is secure to the hitch!
CAUTION: Check for overhead wires and be sure the area behind the boat is clear of people! A mast which comes in contact with electrical power lines can cause serious injury or death!

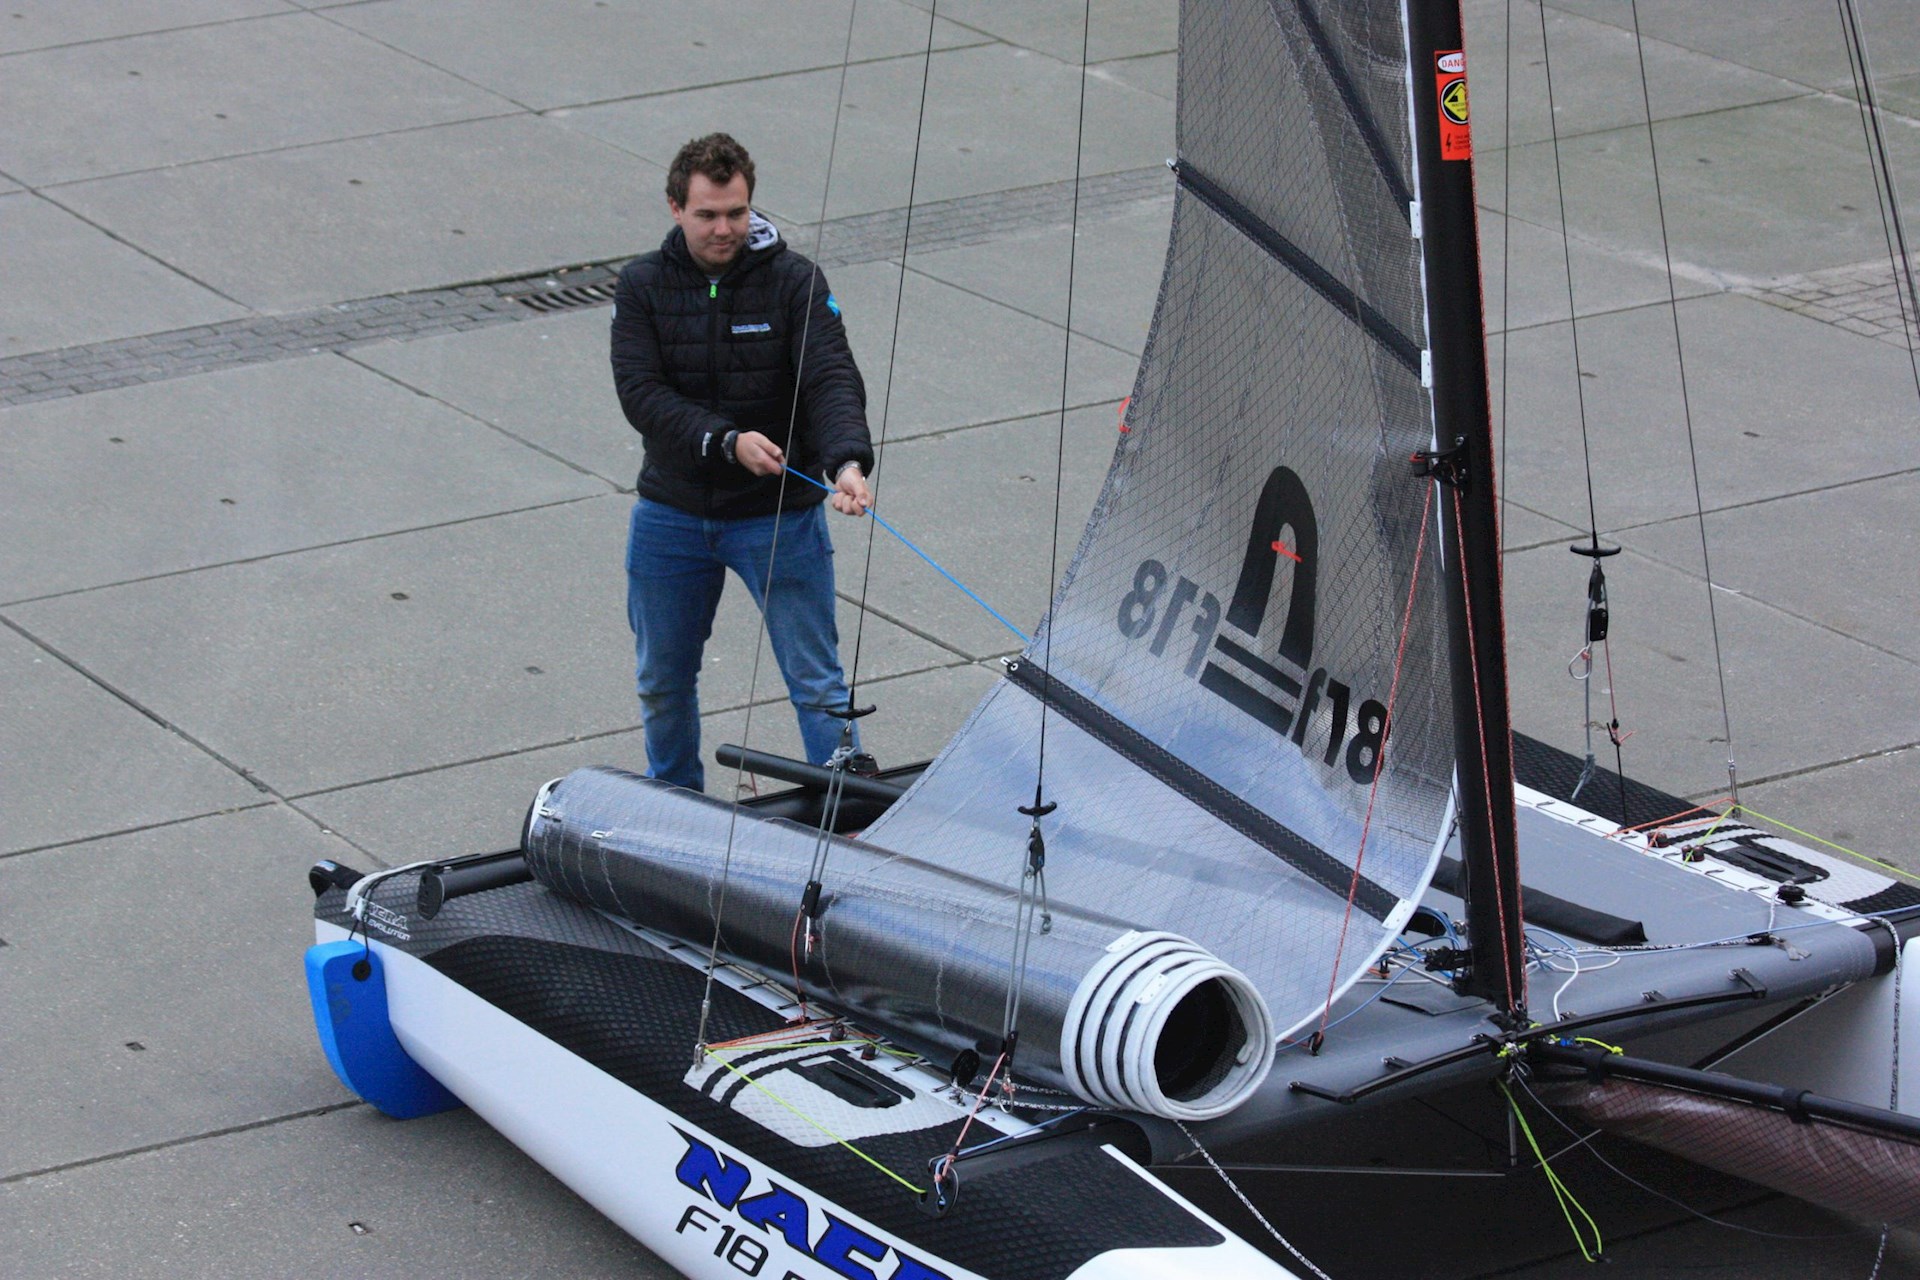
1. Person 1 Holds the mast up with one spreader arm facing downwards, so the mastfoot doesn’t hit the crossbar.
Person 2 Places the mastbase on the mastball.


2. Mount the mast pin and splitrings in the mastfoot.


3. Person 1 Walks forward lifting the mast and hands over the mast to 2.
Person 2 Holds the mast with one spreaderarm facing downwards.


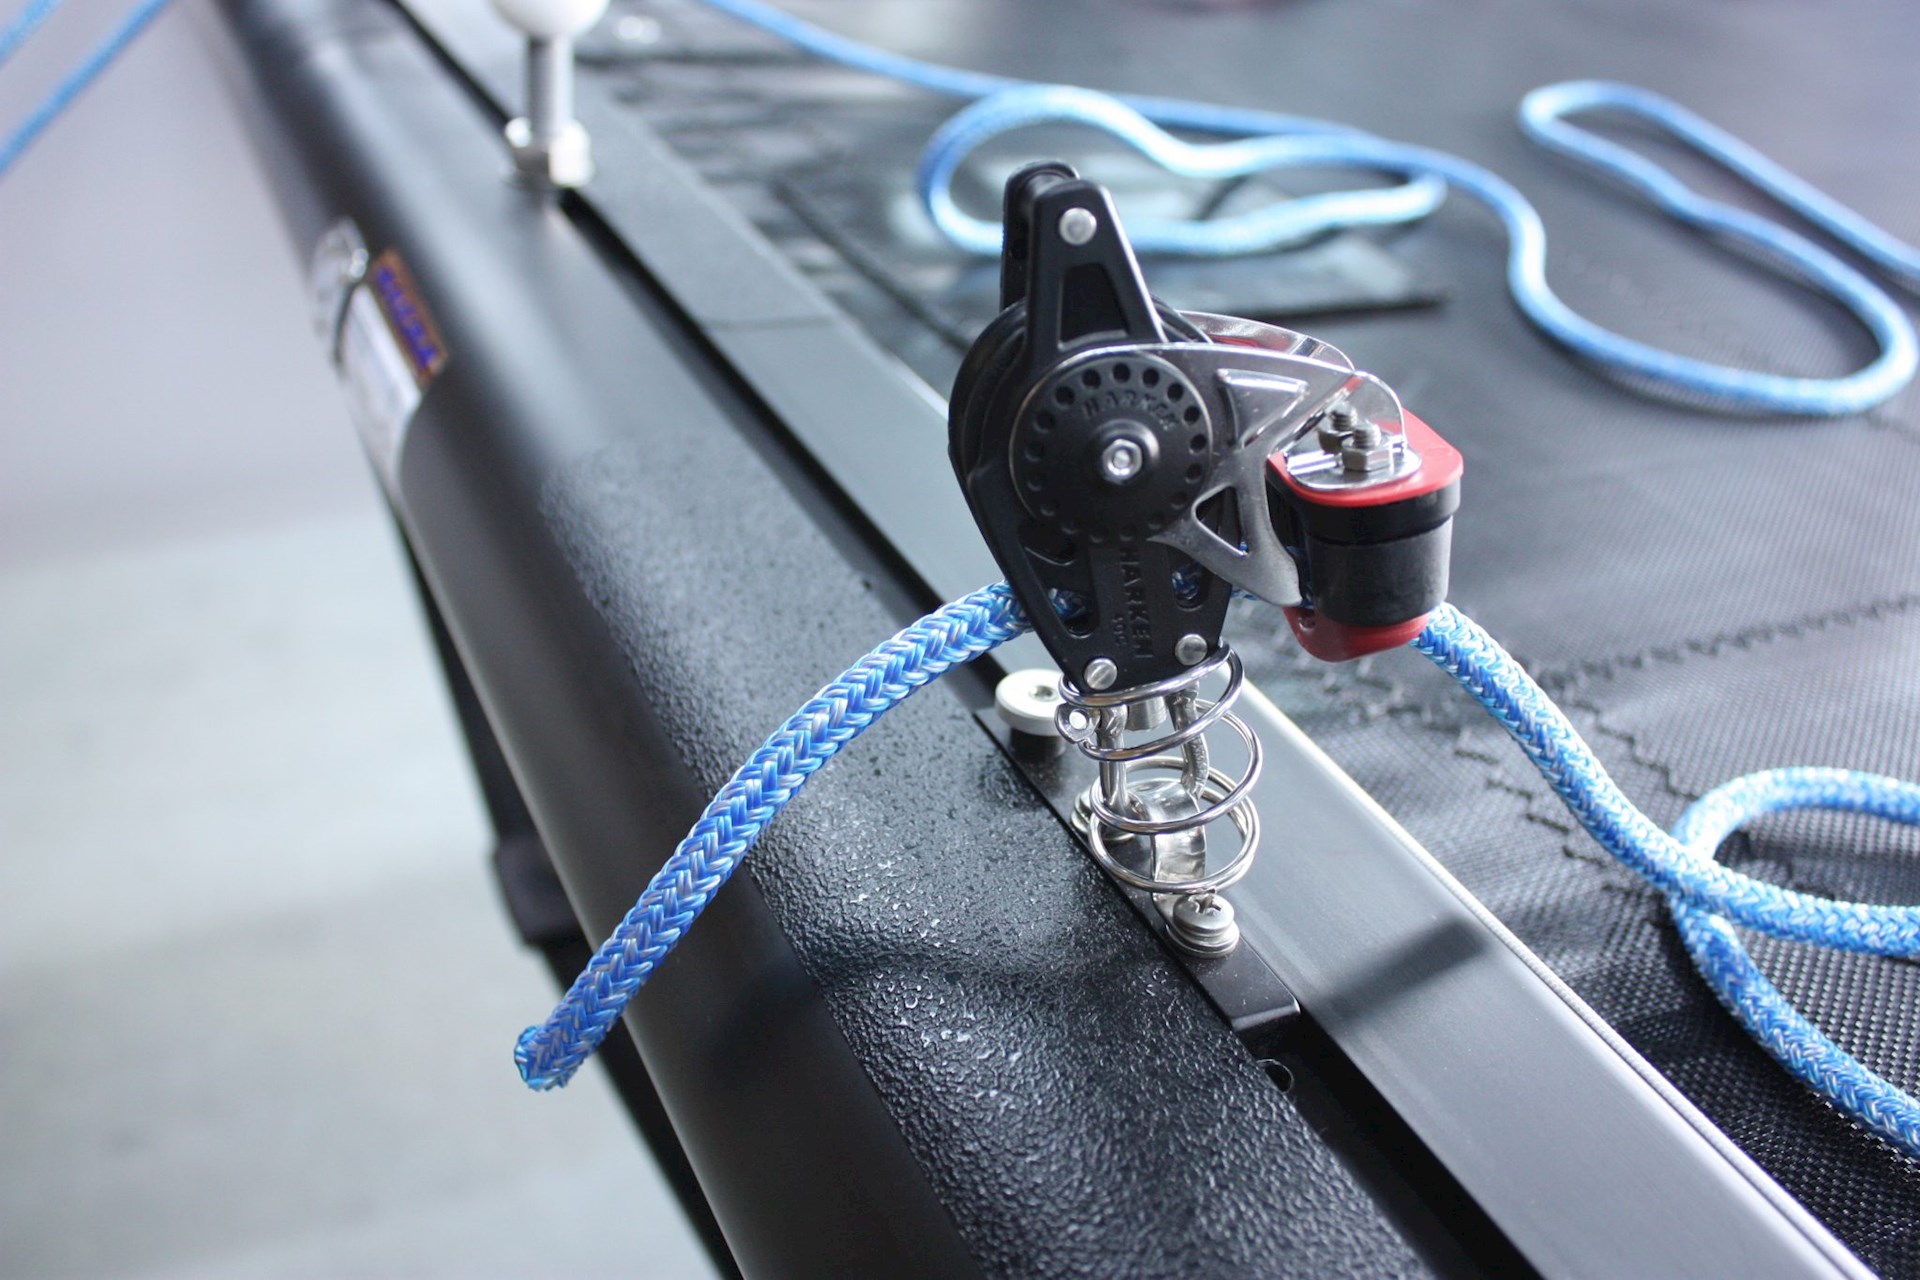
4. Person 1 Grabs the trapeze lines located at the front crossbar.
5. Person 1 Pulls the mast by hanging easily on the trapeze lines.
Person 2 Pushes the mast upwards, still making sure the mastfoot doesn’t hit the crossbar.


6. Person 1 Holds the mast forward pulling on the trapeze lines.
Person 2 Grabs the forestay with shroud adjuster.
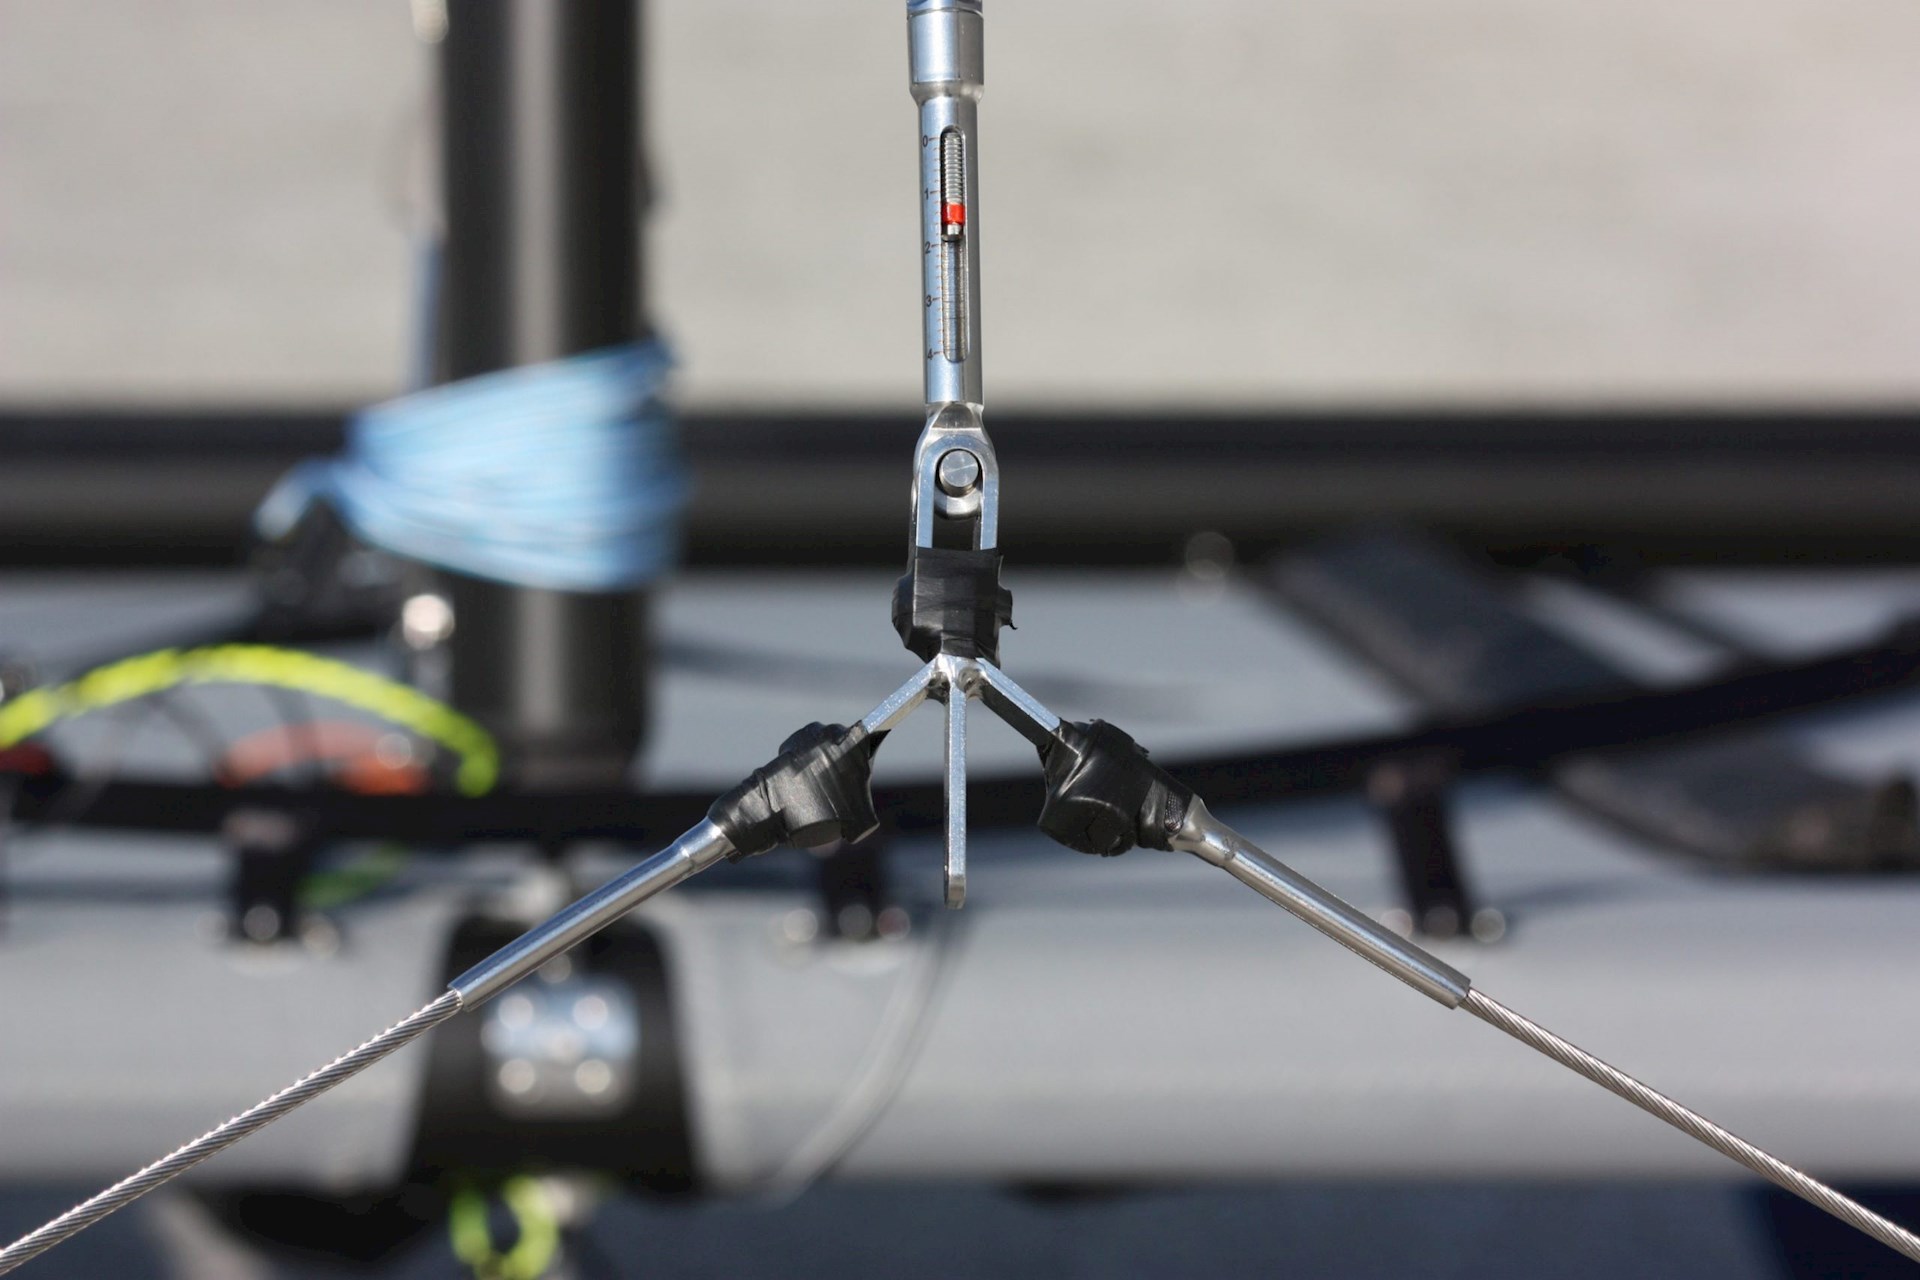
7. Person 2 Attaches the forestay shroud adjuster to the bridle connector.

8. Tape the pins and rings.


9. Put tension on the shrouds. Person 1 pulls on the trapeze. Person 2 tightens the shrouds to the desired loose gage tension. See trim guide for more information.

Applicable to boats:
Was this article helpful?
Dislike 0

Continue reading

Previous: Preparation
Next: Bowsprit with compression pole installation
Scroll to Top